Performing a peg-in in using Trezor Hardware Wallet
In this guide, we will be using performing a peg in transaction using the 2 way peg app application.
Trezor Hardware Wallet
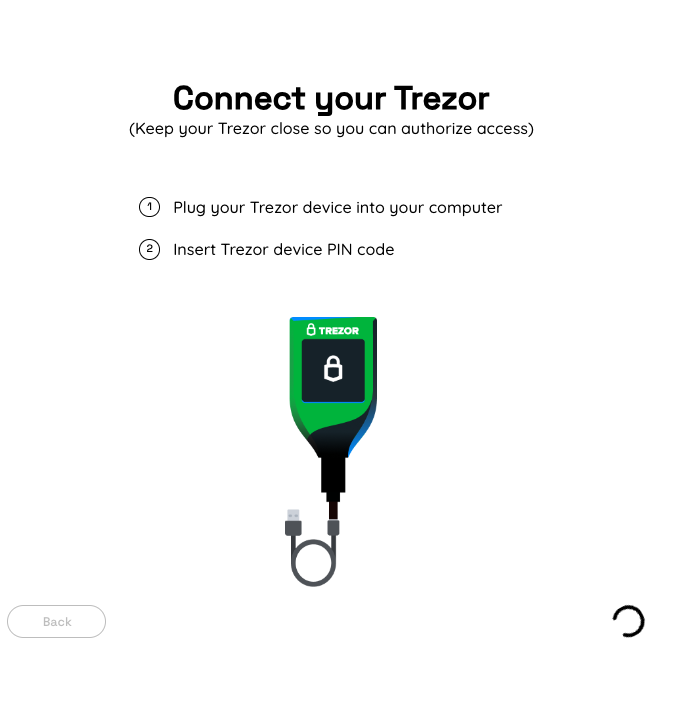
Step 1: Connecting to a trezor wallet
Plug your Trezor wallet by connecting the USB cable that comes with Trezor.
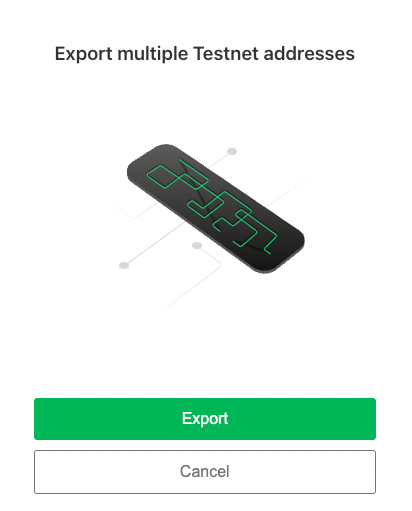
Step 2: Export multiple addresses In this step, the user is redirected to Trezor's site and needs to click on export to export the addresses.
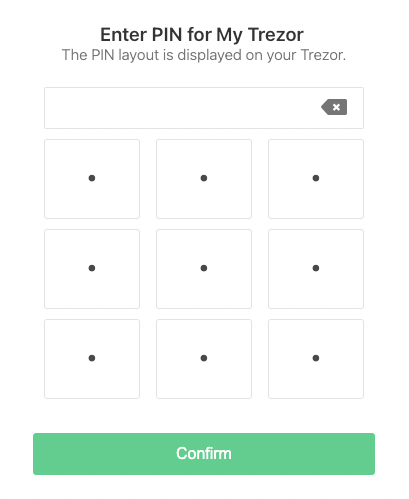
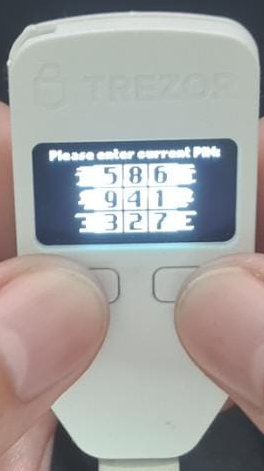
Step 3: Enter Pin and confirm Enter a pin for your Trezor, displayed on your hardware wallet. Click confirm.
Step 4: Unlock Trezor with passphrase

Step 5:
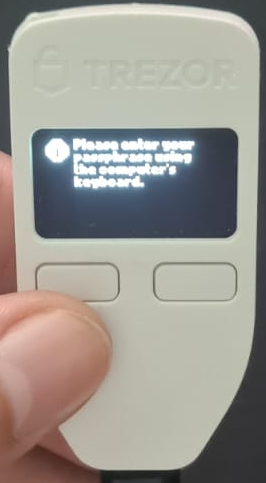
- Type Trezor passphrase
- Trezor will display the message: 'Please enter your passphrase using the computer's keyboard'.
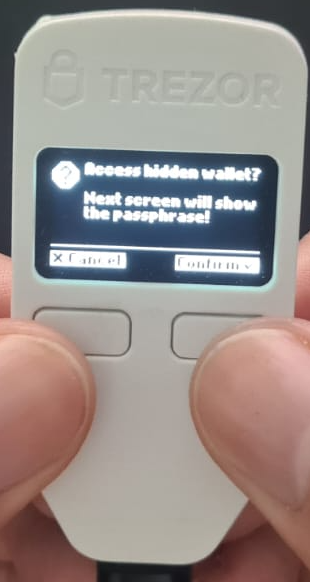
The user fills the passphrase, and confirms passphrase fields, using the Trezor Connect application. The user will see this screen on Trezor: "Access Hidden Wallet?".

Now, you have successfully connected your Trezor to the Bitcoin network.
Performing a peg-in transaction with Trezor
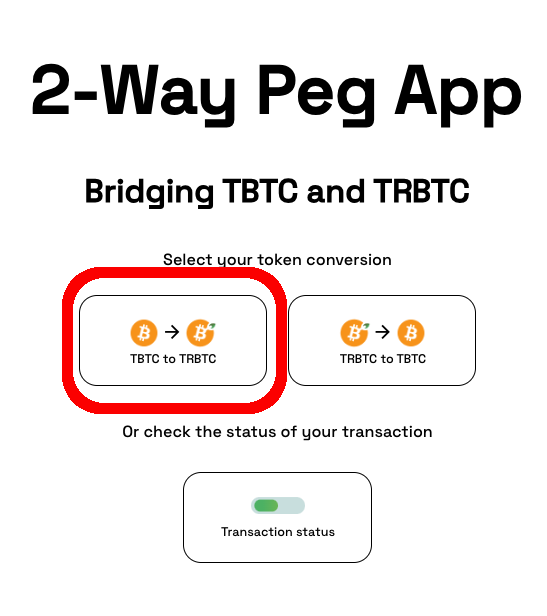
Step 1: Select Conversion Type
Since we are performing a peg-in, choose the BTC - RBTC conversion type, as shown in the image below;
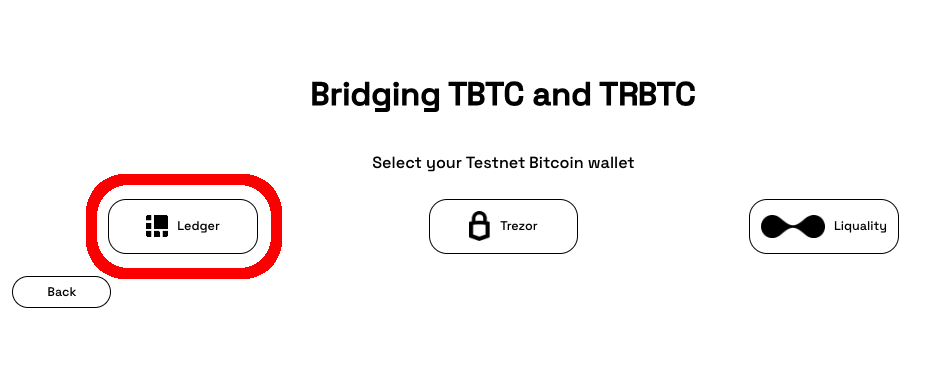
Step 2: Choose Hardware Wallet
Here, we are using the ledger hardware wallet to interact with the 2 way peg app. Select your hardware wallet, ensure your device is already connected by inserting your pin into the Ledger device before clicking the Ledger option in the 2 way peg app. See the connect to a ledger wallet section.
Step 3: Read pop up information
The pop up shown in the image below describes the duration of the peg-in process which requires at least 100 confirmations on the Bitcoin network, this gives an estimate of around 17 hours in total. It also describes the three main steps involved which is; connecting to the hardware wallet, sending a signed transaction to the BTC network until the corresponding RBTC value is made available in the destination wallet and a receipt for this transaction.
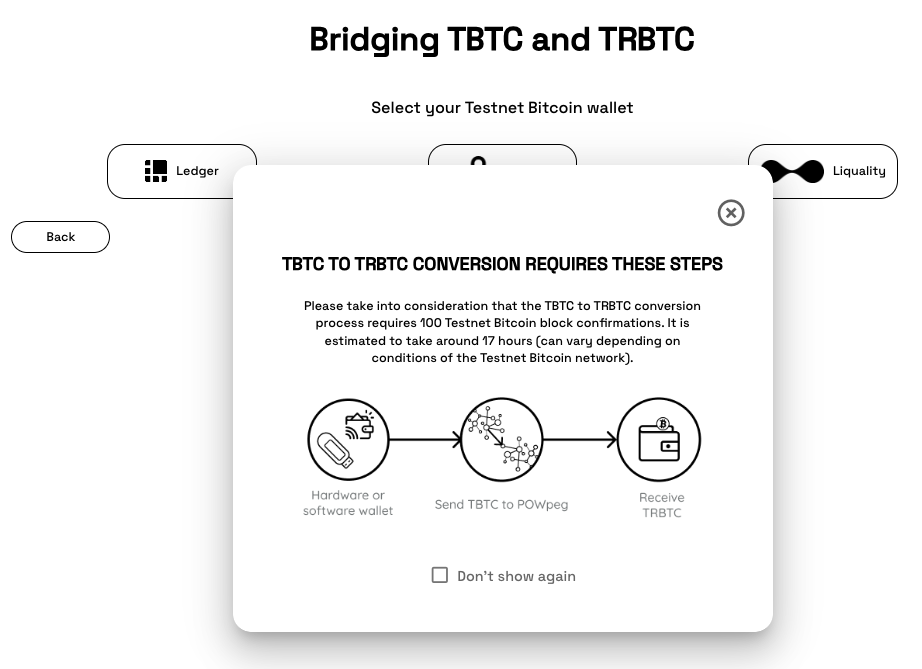
Click the checkbox - “Don’t show again” to turn off this pop-up in the future or close temporarily.
Step 4: Connect to the app
Click Continue to connect to the 2 way peg application.
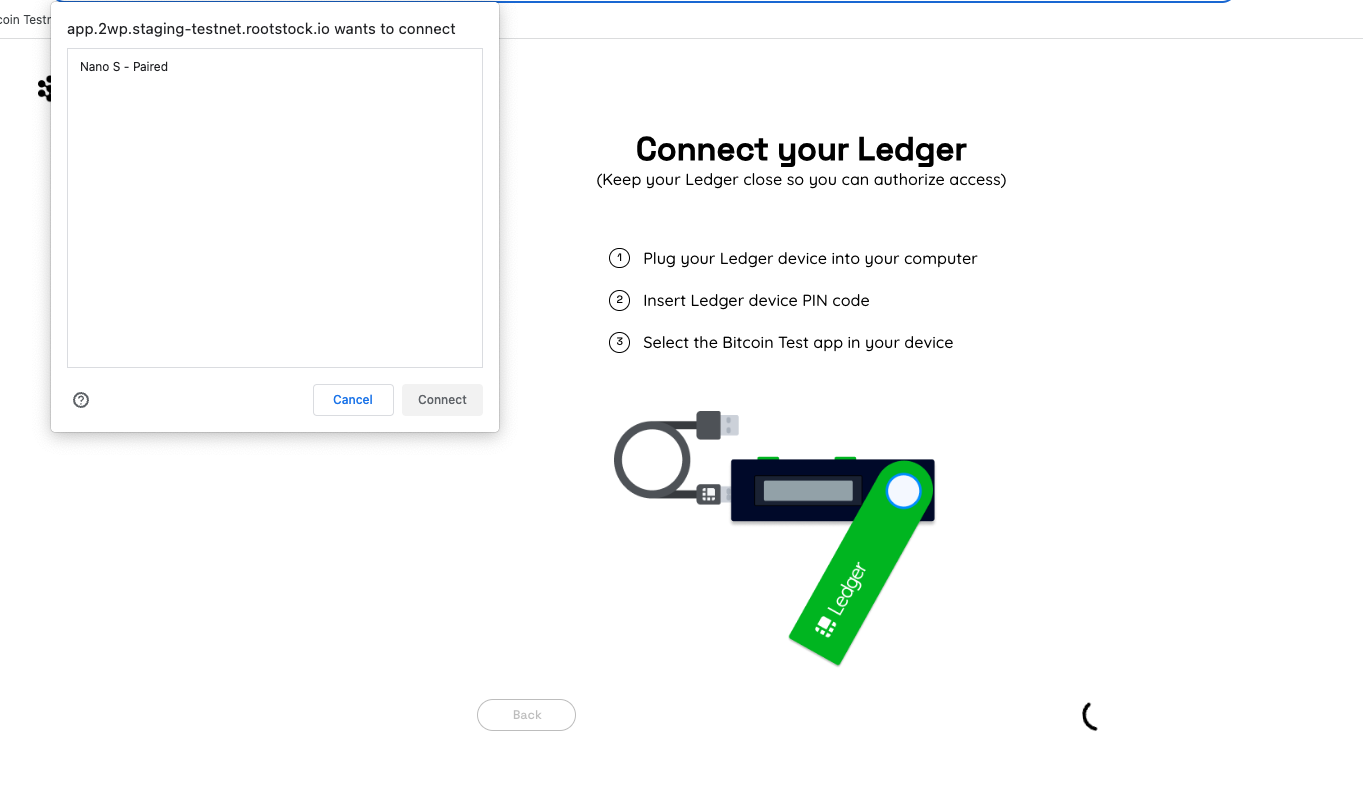
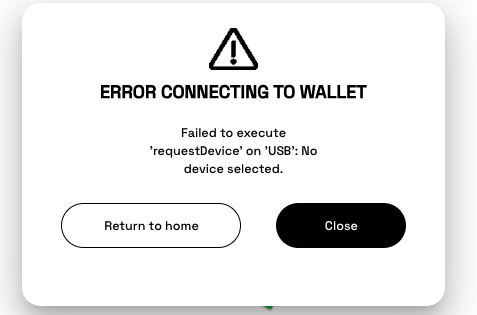
The 2 way peg app shows the pop-up with the connected usb ledger devices, if your device is not visible, unplug the usb device and plug in again, unlock with a pin and click Retry or go back to the connect ledger wallet section.
To confirm successful connection to the 2 way peg app, you will be directed to the screen below, where we will perform a Peg-in transaction.
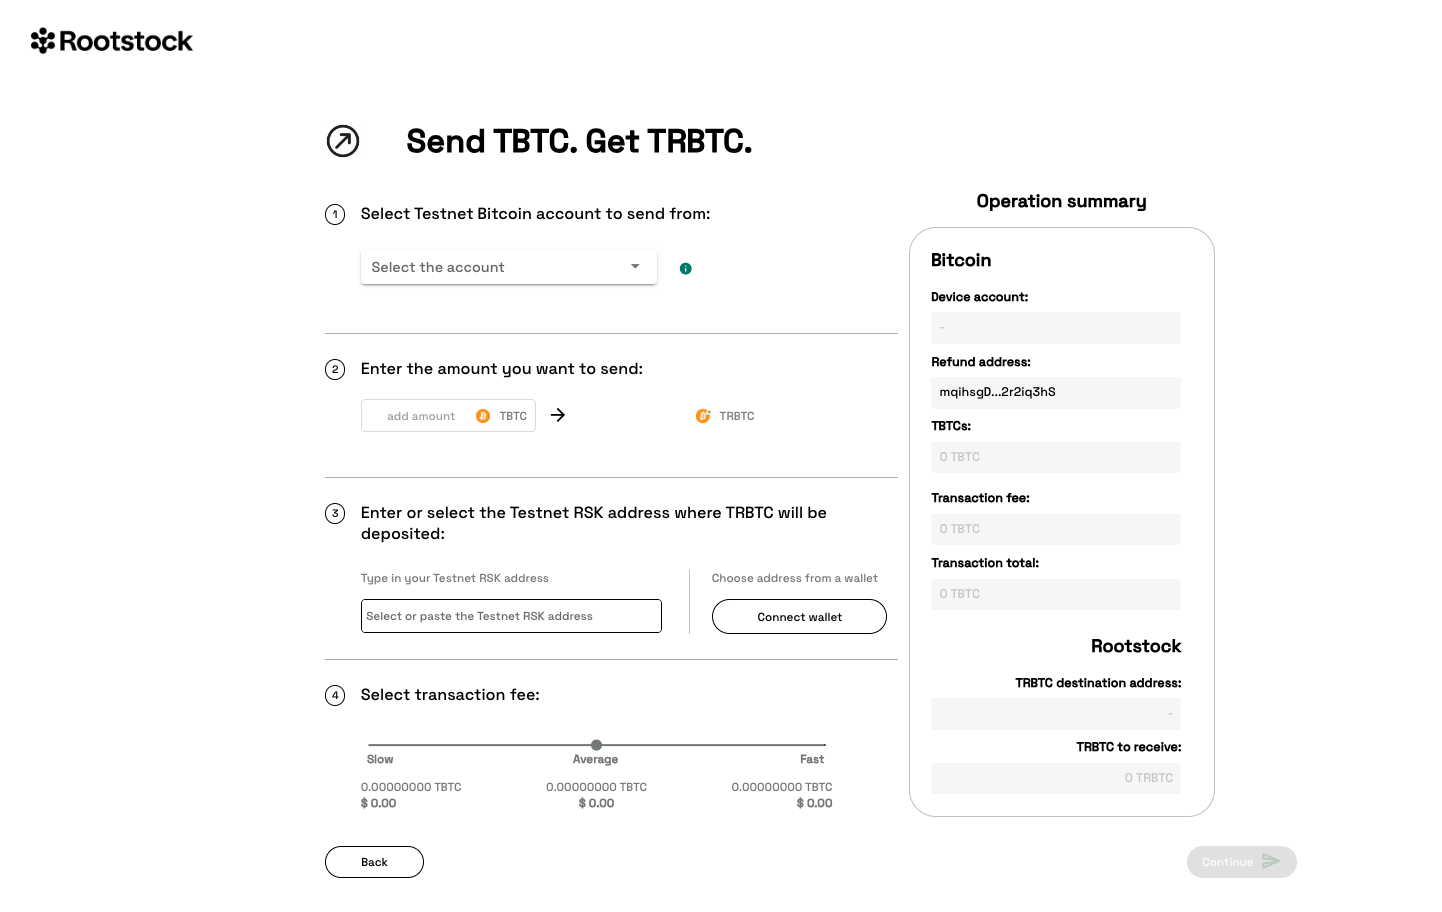
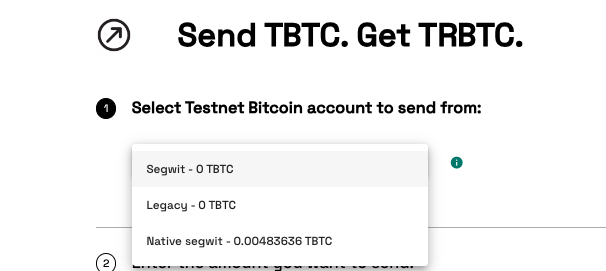
- The balance of the accounts in your hardware wallet will be loaded, and this shows the balance of 3 different types of accounts: segwit, legacy, native segwit. See the supported addresses for the meaning of these types of accounts.
Step 5: Sending a transaction
Choose Account
Select the account you would like to send BTC from, by clicking on the dropdown as shown in the image below.
Note that for each selected account type, we will see a corresponding balance in the 'Device account' field in transaction summary section on the right hand side of the screen.
Enter Amount
After selecting the account you will like to send BTC from, the next step is to enter an amount you would like to send. The amount entered appears in the BTC field, and you can see the corresponding amount in USD under transaction summary.

- The minimum amount to send to perform a pegin operation is 0.005 BTC, any amount less than this throws an error message: “You cannot send that amount of BTC, you can only send a minimum of 0.005 BTC”.
- The minimum amount to send to perform a pegout operation is 0.004 RBTC, any amount less than this throws an error message: “You cannot send that amount of BTC, you can only send a minimum of 0.005 BTC”.
- Note that the amount sent in BTC is the same amount to be received in RBTC on the Rootstock network.
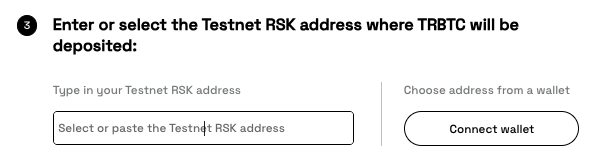
Step 6: Enter address
To enter an address, we are provided with two options:
- (1) Manually enter or copy and paste an Rootstock compatible address. See Account based addresses
- (2) Connect to a software wallet. E.g, Metamask. Here, the address is automatically filled in by the account that is connected to your metamask wallet.
Tips:
- Use the address verifier to verify if an address is Rootstock-compatible and can be used to perform a peg in a transaction.
- Use the Metamask-Rootstock tool to automatically connect to Rootstock mainnet or manually connect metamask to the Rootstock mainnet or testnet.
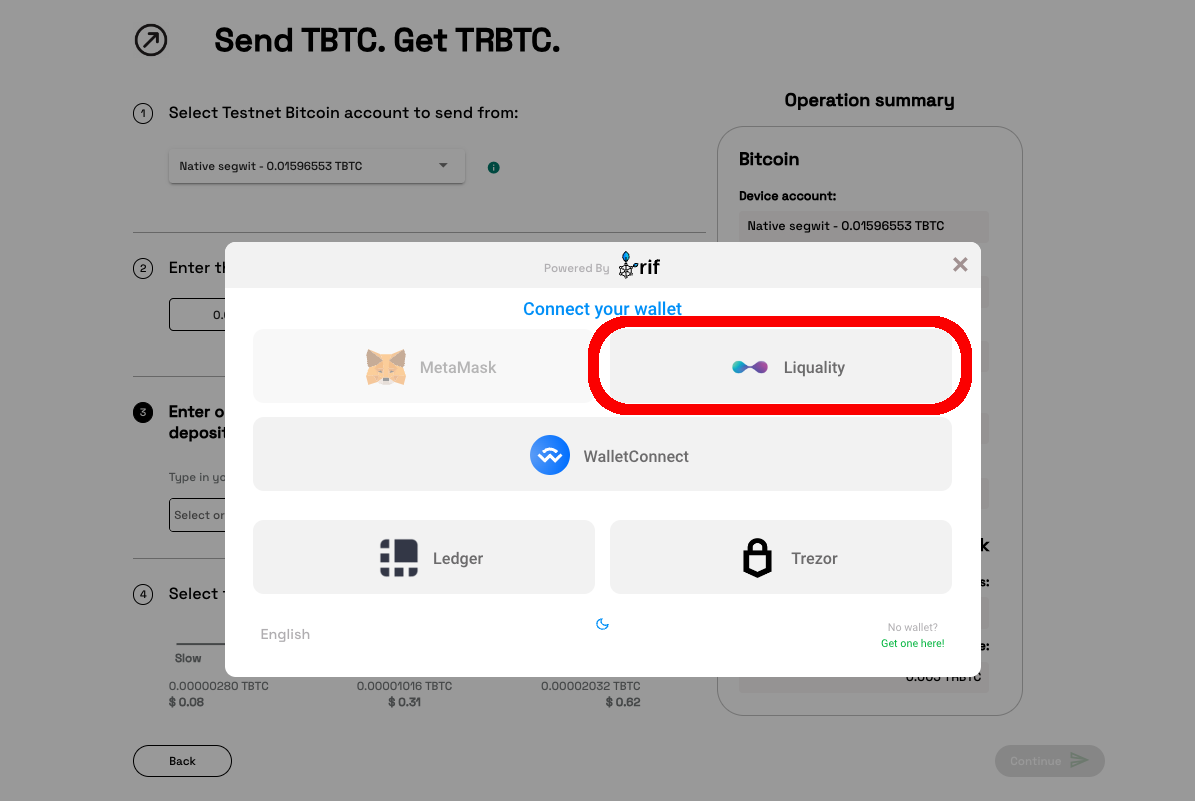
Step 6a: Click on Connect Wallet
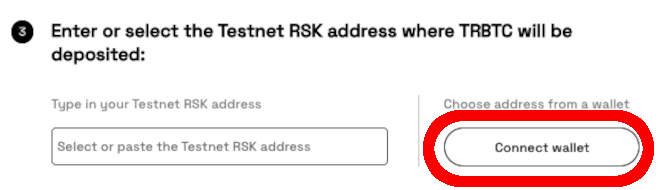
Step 6b: Choose your preferred wallet
In this section, we will use the Liquality wallet.
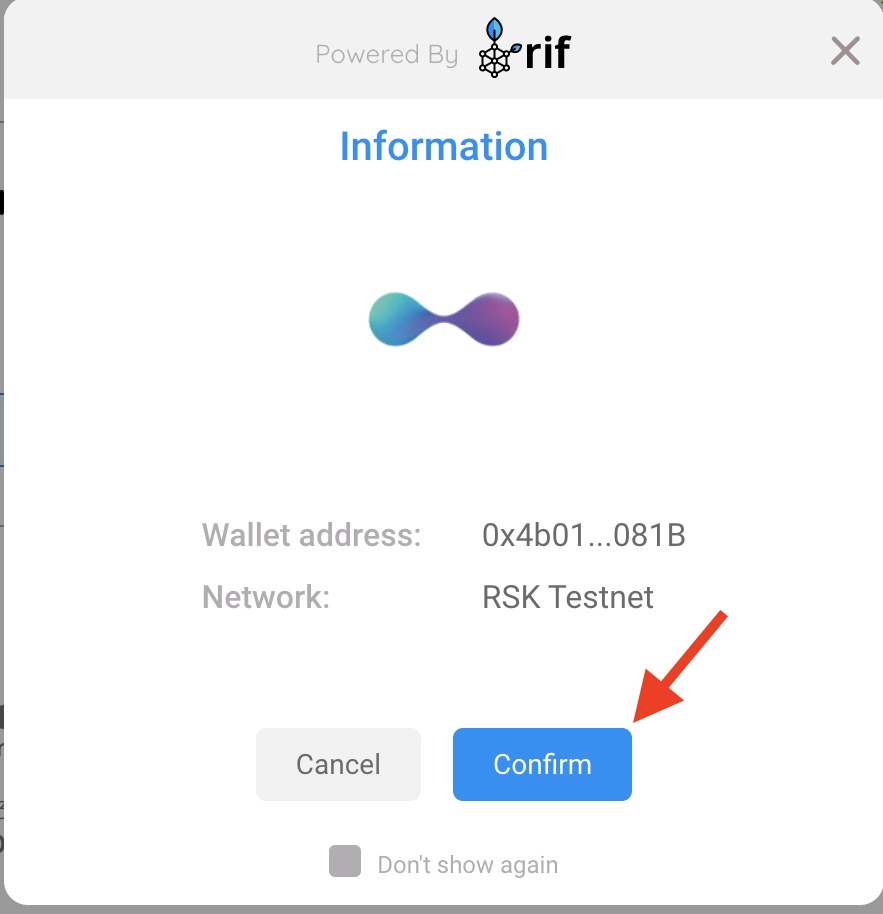
This triggers a pop-up. Ensure to check the wallet address and the network automatically selected by Liquality. Grant the requested permissions to liquality by clicking on Confirm.
See connect with Metamask.
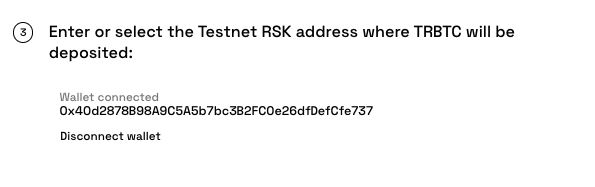
Step 6c: Confirm Details
This automatically connects your wallet and adds a destination address. You can choose to disconnect the wallet by clicking on the Disconnect wallet button.
Step 7: Select Transaction Fee
Here, we can select the fee that will be used for this transaction, this is set on default to average.
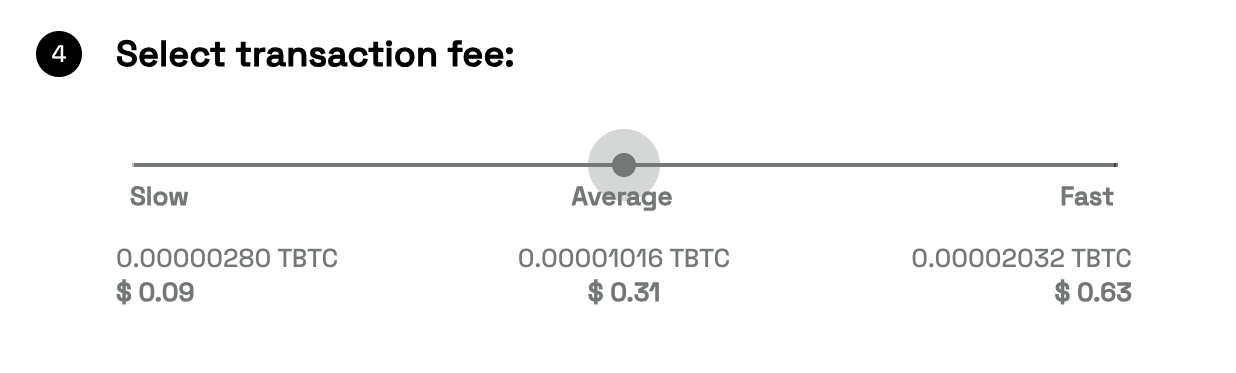
- The transaction fee is not part of the amount you’re sending via the 2 way peg app, it will only be used for the correct processing of the transaction on the Bitcoin network. Also see the different types of fees (slow, average, fast) and their corresponding cost in TBTC and USD, depending on preference, you can choose any of those three. See the adjusting network fees section for more information.
- The time for each type of fee per transaction may vary depending on the number of transactions on the network and the fees charged at the time.
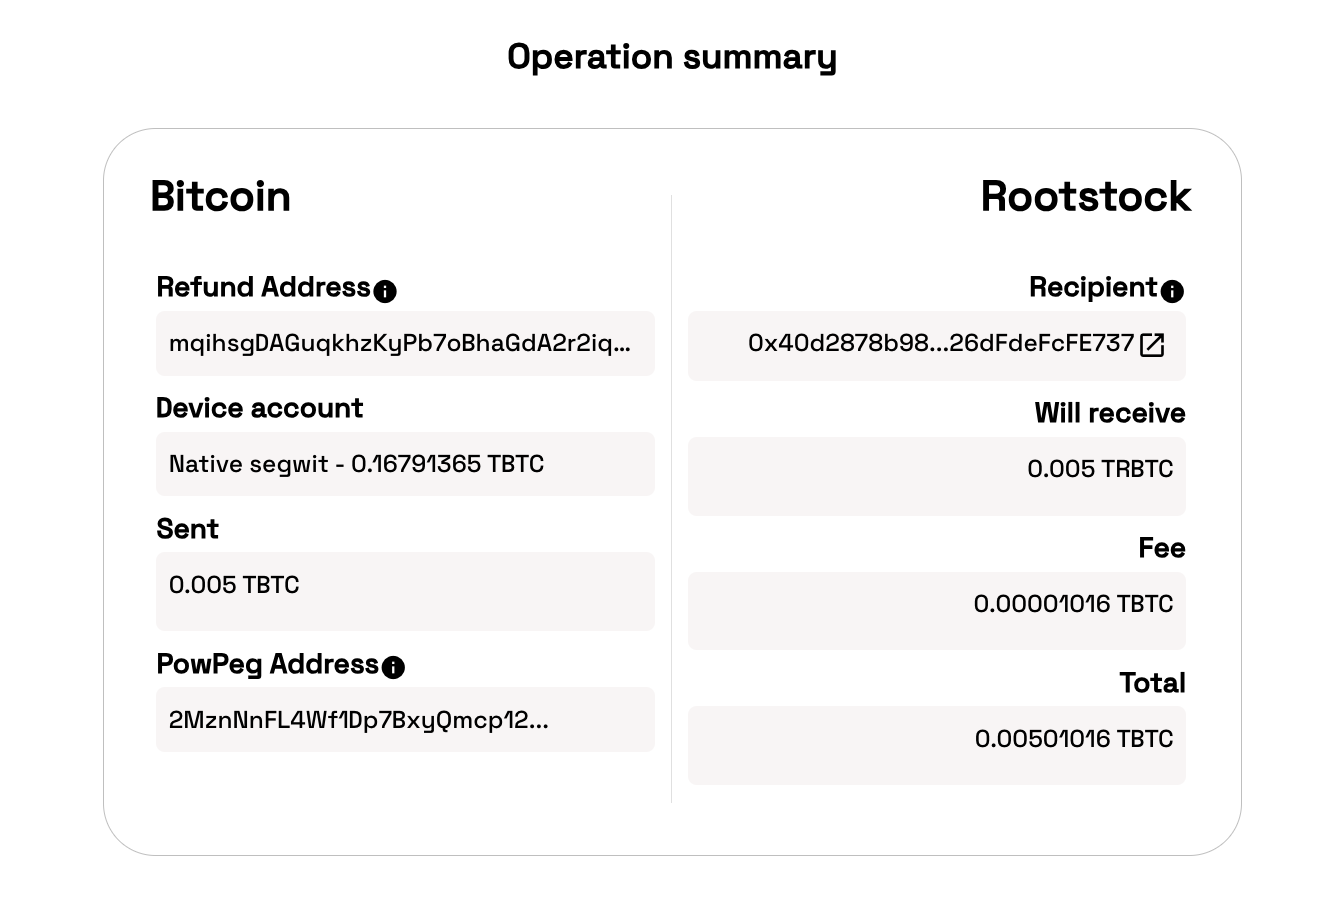
Step 8: View transaction summary
In this section, we can confirm the selected values:
- Device account address
- Amount in BTC
- Destination Rootstock address
- Refund Bitcoin address
- Transaction fee in BTC and USD
- Transaction total (BTCs amount + Transaction fee selected)

- In the instance of an error on this transaction, the amount will be sent to the address indicated in the refund Bitcoin address located in your hardware wallet.
- See the glossary section for the meaning of these values.
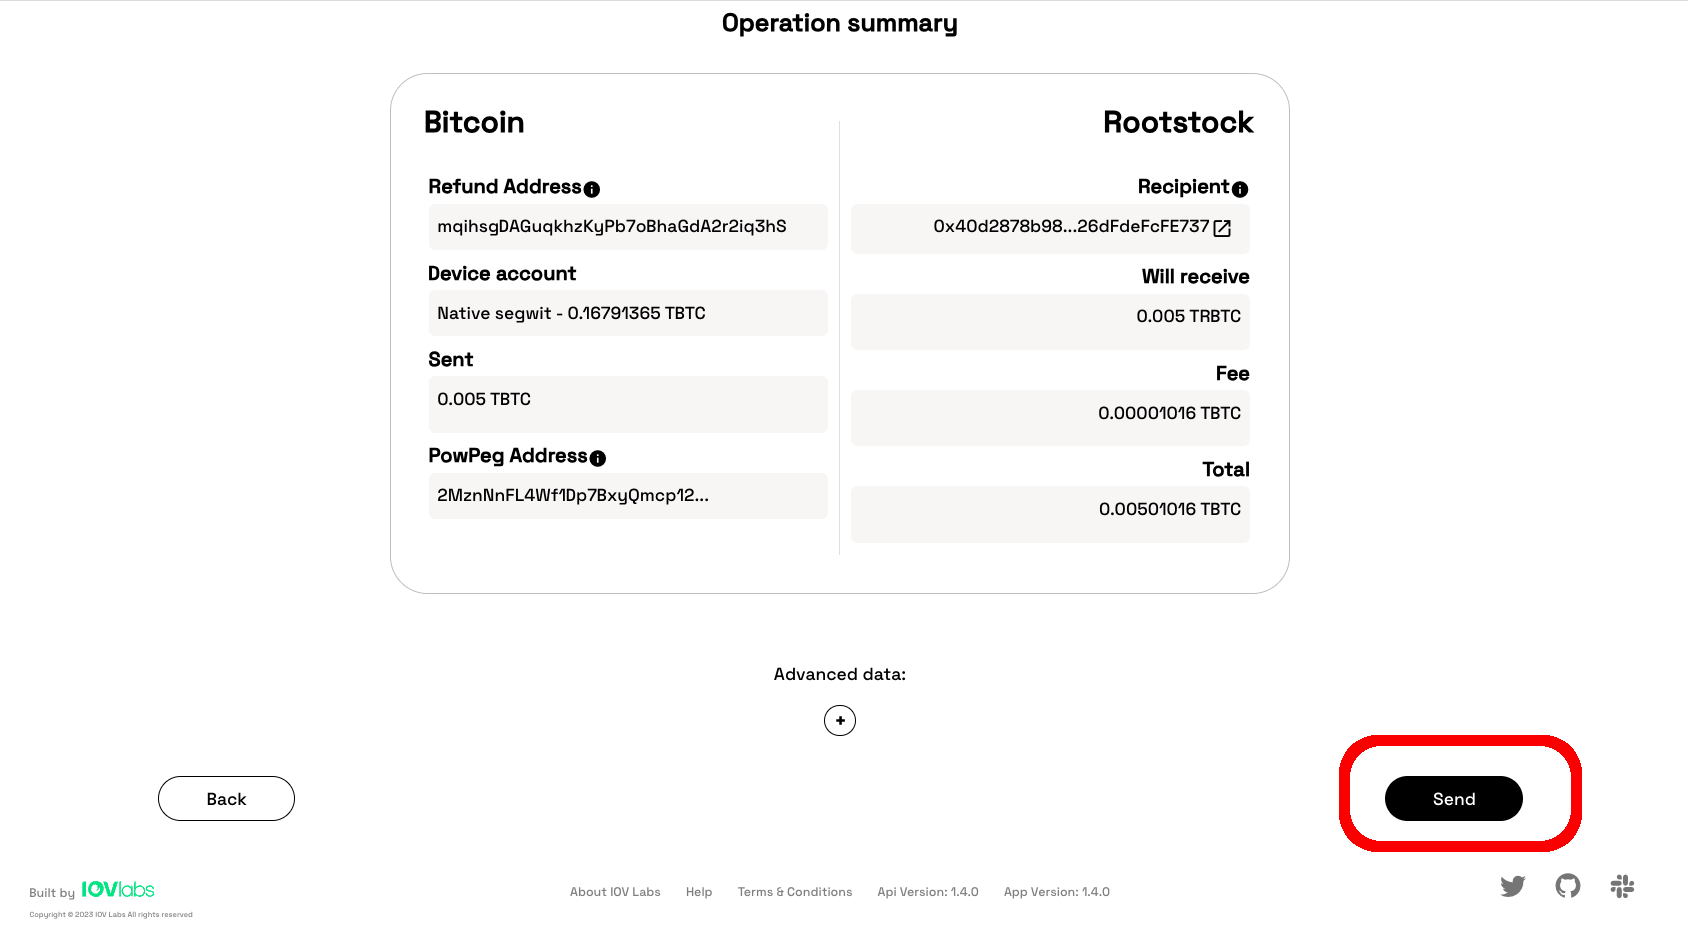
Step 9: Continue and sign transaction
By clicking on the Continue button, we can see all the transactions that will be made, their corresponding inputs and outputs, and the network fees that will be charged, all this information must be confirmed on your hardware wallet screen.
Under transaction summary, we can see the destination and refund address, as well as the Powpeg recipient address. After confirming these details are correct, click on the sign button, and confirm all information on your hardware wallet.
Step 12: View transaction status
This shows the status of your transaction, with a transaction ID and a link to check the transaction on the explorer.
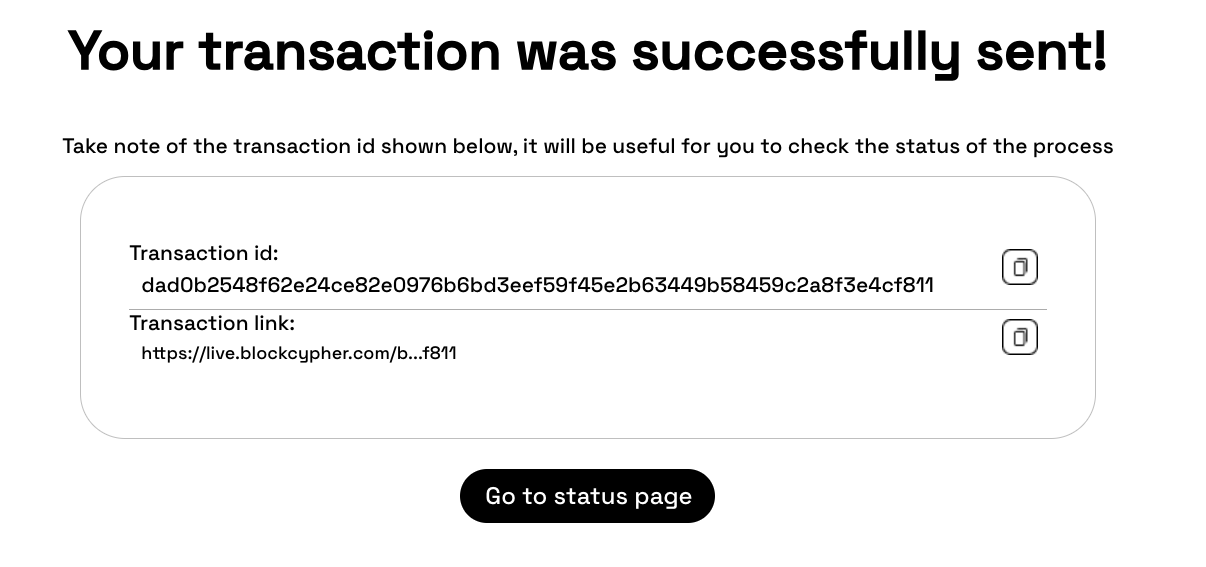
By clicking on the transaction link, the user can check the status directly in the block explorer, outside the 2 way peg app application, and view the data on the bitcoin blockchain.
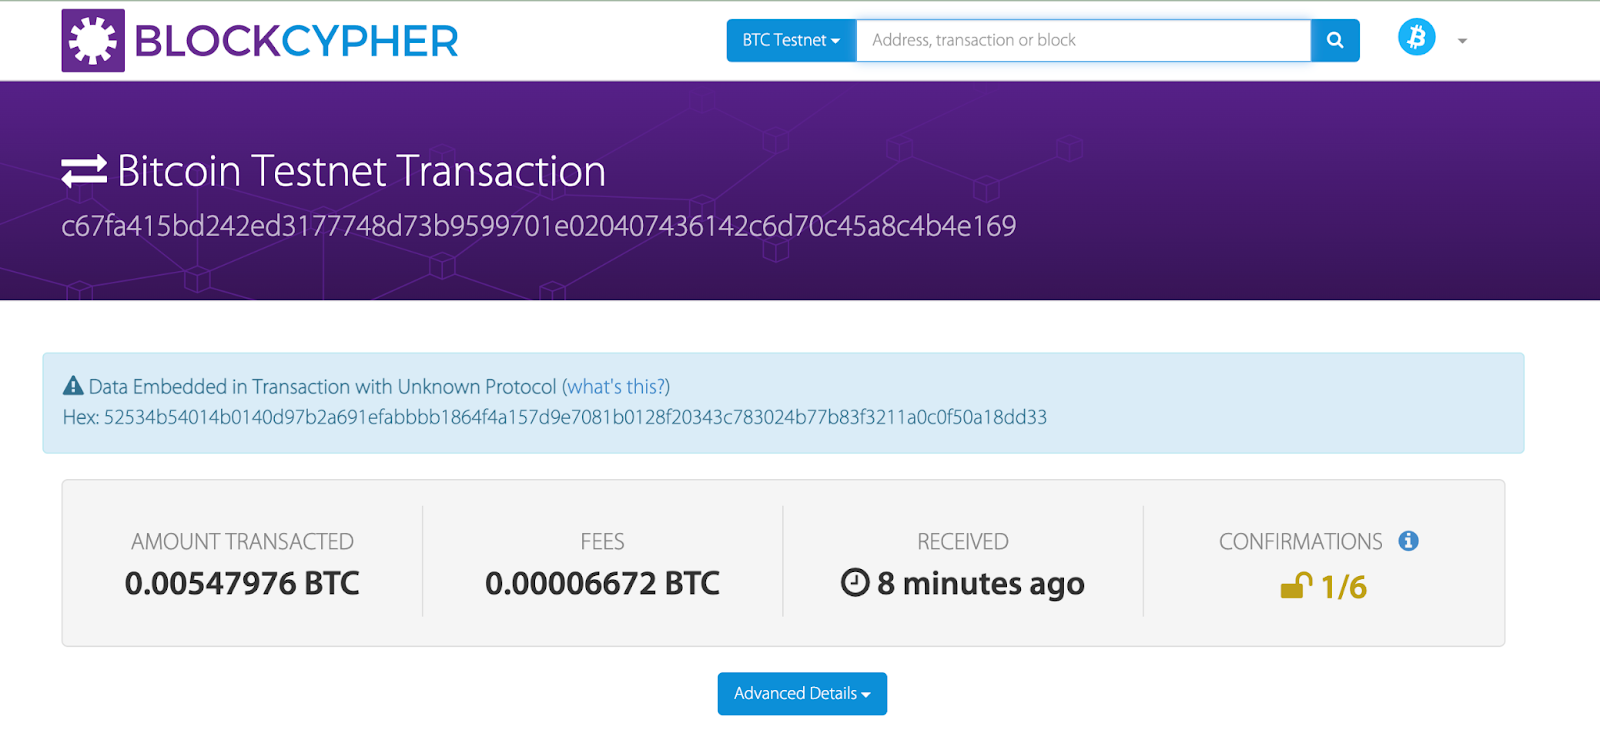
Users can also copy the transaction id to view the status of their transaction on the Bitcoin network. See the view transaction status section for how to view transaction status.
Click Done.
Now you have successfully performed a peg-in transaction using the 2 way peg application.
Resources
- 2 way peg app frontend repo
- 2 way peg app backend repo
- How to get RBTC using Rootstock’s built in Powpeg
- Rootstock Testnet Faucet
- Get RBTC using Exchanges
- Design architecture